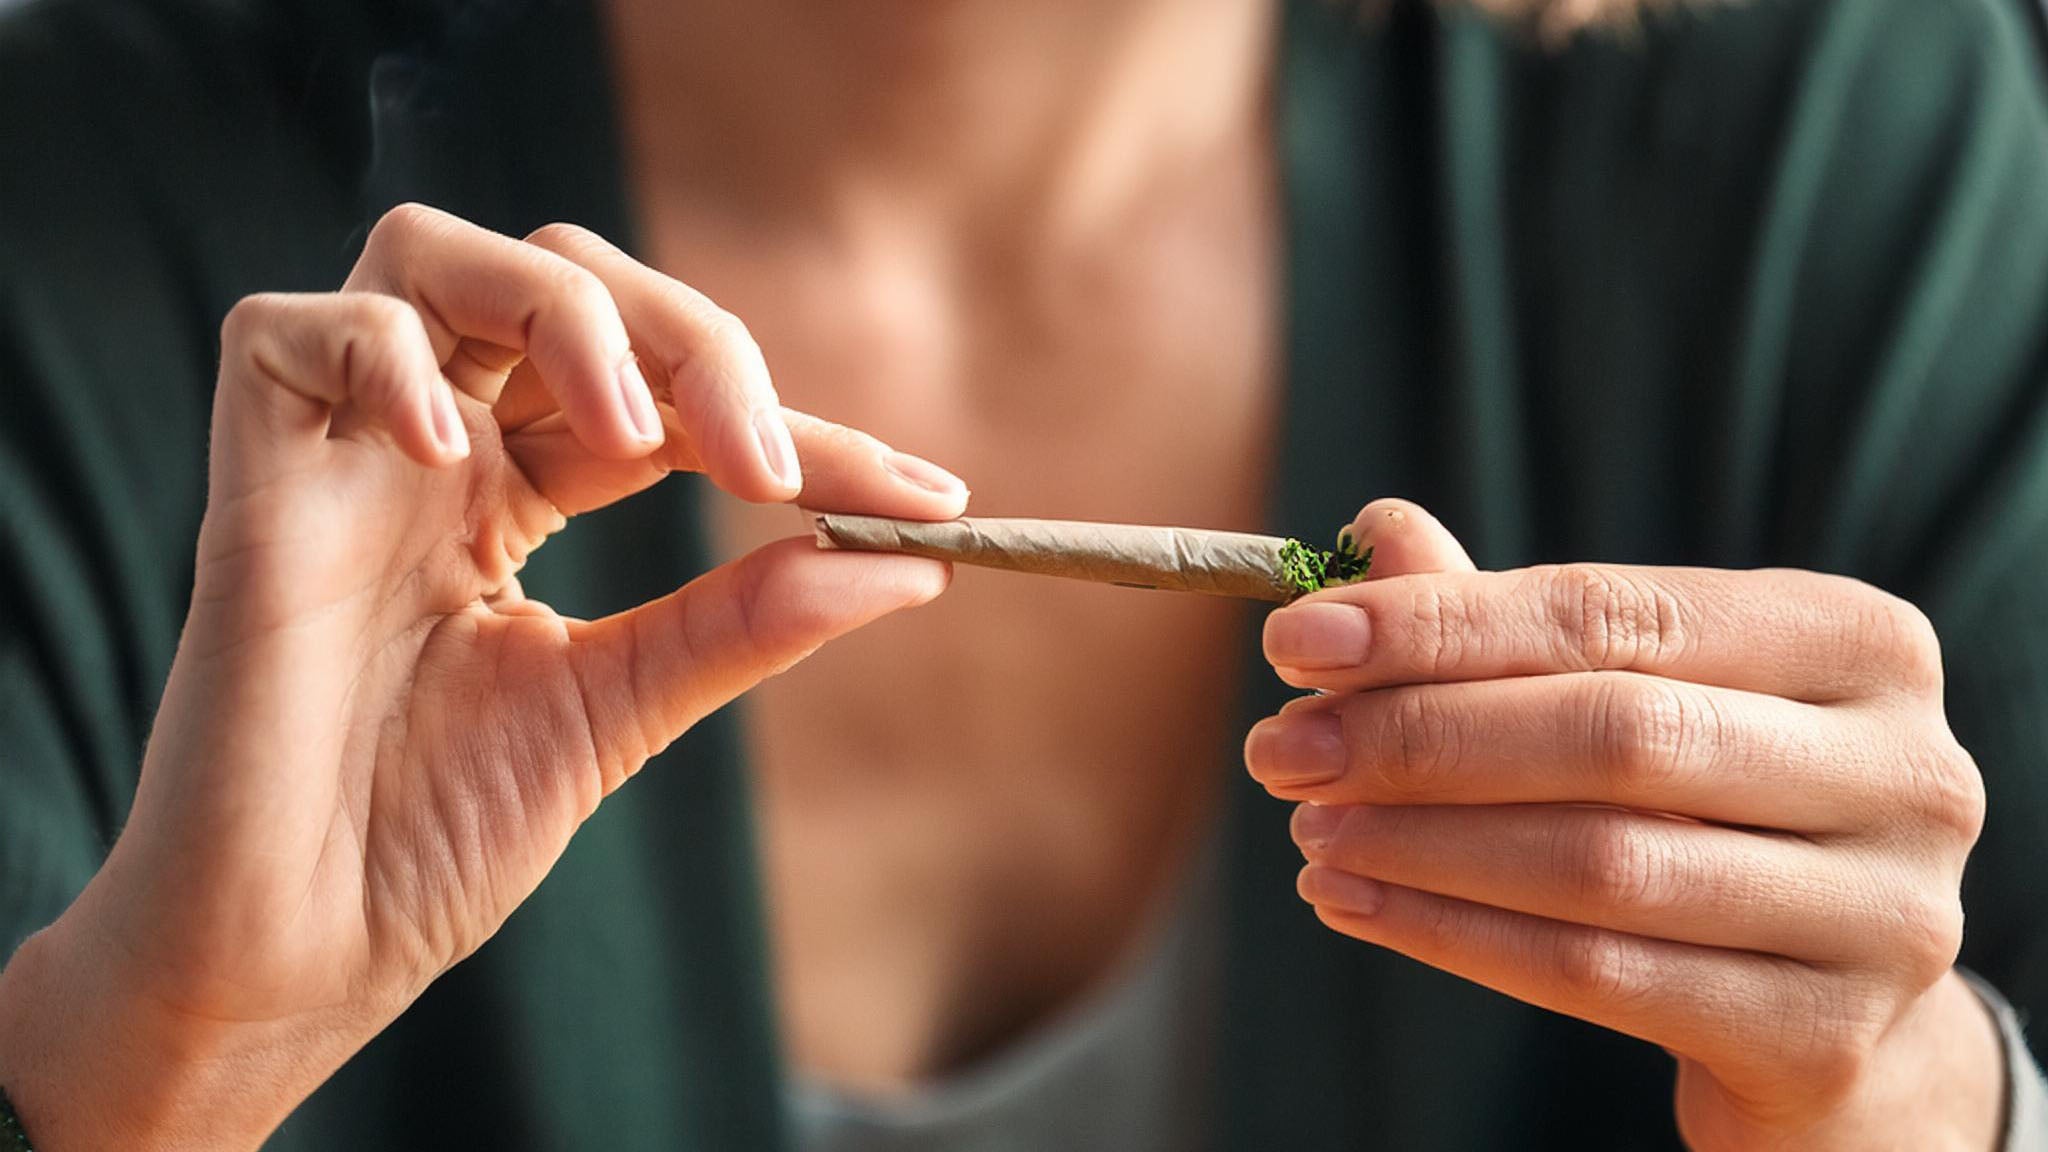
Rolling a joint is a rite of passage for many cannabis enthusiasts, and while it can seem tricky at first, with the right technique and a little practice, anyone can learn how to roll a perfect joint. Whether you're new to cannabis or just need a refresher, here’s a step-by-step guide on how to roll a joint like a pro.
Materials You’ll Need
Before you begin, gather the following materials:
- Rolling papers (choose your preferred size and type)
- Cannabis flower
- Grinder (for an even grind)
- Filter tip or crutch (optional but recommended for structure and stability)
- Rolling tray (to keep things tidy)
Having the right materials is essential for a smooth and enjoyable rolling process. Using high-quality rolling papers and a proper grinder will help improve the taste, burn, and overall quality of your joint.
Step 1: Grind the Cannabis
Start by grinding your cannabis. An even, medium-fine grind is ideal for joints. Avoid overly fine grinds, which can lead to airflow issues, and avoid large chunks, which can make the joint difficult to roll and burn unevenly. Use a quality grinder for a consistent result and to avoid sticky fingers.
Step 2: Prepare the Filter Tip (Crutch)
A filter tip, or crutch, isn’t mandatory, but it makes your joint sturdier and prevents bits of cannabis from entering your mouth. Here’s how to make a simple crutch:
- Take a small piece of thick paper or a pre-made filter tip.
- Fold one end into a small "M" or "Z" shape.
- Roll the rest around this fold to create a cylindrical filter.
Place this at the end of your rolling paper to form the joint’s mouthpiece.
Step 3: Fill the Rolling Paper
Hold the rolling paper with the adhesive strip facing up and away from you. Place your filter at one end. Now, fill the paper evenly with ground cannabis, keeping the center slightly fuller for an even "cylinder" shape. A balanced amount of cannabis will help the joint burn evenly from start to finish.
Step 4: Shape and Pack the Cannabis
Once you’ve added the cannabis, gently shape it with your fingers by rolling the paper back and forth. This creates a solid foundation and helps the cannabis take a cylindrical form. Be gentle to avoid any spills, and make sure it’s not packed too tight, as this will restrict airflow.
Step 5: Start Rolling the Joint
Here’s where technique matters most:
- Begin rolling the non-adhesive side over the cannabis, tucking it around the cannabis and filter.
- Keep rolling until the adhesive side meets the rolled paper.
- Moisten the adhesive strip and press down gently to seal the joint.
Practice makes perfect here, so don’t be discouraged if it takes a few tries to get it right!
Step 6: Pack the Joint
Once rolled, pack the cannabis down gently to ensure an even burn. Use a pen or any slim object to press the cannabis lightly from the open end. This step helps create a balanced, smooth burn.
Step 7: Twist the End and Light Up
Twist the open end of the joint to keep everything in place and create a handle. Light your joint slowly and evenly, rotating it to achieve a balanced burn. Take slow, steady puffs for the best experience.
Tips for Rolling a Perfect Joint
- Use the Right Paper Size: Larger papers make it easier for beginners, while smaller papers are great for quick, personal joints.
- Don’t Overstuff: Start with a manageable amount of cannabis, as overpacking can make rolling difficult.
- Practice Makes Perfect: Rolling takes practice, so don’t stress if it’s not perfect on the first try.
- Choose Quality Paper: Organic or hemp papers offer a smoother taste, allowing you to enjoy the flavor of your cannabis.
- Experiment with Filters: Filters help with airflow and keep the joint stable, making it easier to hold and smoke.
Common Mistakes to Avoid
- Overstuffing or Understuffing: Packing the joint too tight or too loose affects the airflow and can cause uneven burning.
- Improper Filter Placement: Misplacing the filter tip can lead to a flimsy joint. Make sure it’s placed securely at the end before rolling.
- Skipping the Grinding Step: Proper grinding ensures an even burn, while large pieces can cause the joint to burn unevenly.
Rolling Alternatives: Pre-Rolls, Cones, and Rolling Machines
If rolling by hand proves too challenging, there are other options:
- Pre-Rolled Cones: These come with a built-in filter and only require filling, packing, and twisting.
- Rolling Machines: A simple tool that automates the rolling process for you.
- Pre-Rolls: Available at dispensaries, these ready-to-smoke joints eliminate the need for rolling entirely.
Final Thoughts
Rolling a joint is a skill that takes patience and practice. Start with small amounts of cannabis until you feel comfortable with the technique. Over time, you’ll develop your own style, making the process faster and more enjoyable. Now that you know how to roll a joint, you’re ready to enjoy the full experience of cannabis with a perfectly rolled joint.
So, grab your rolling papers, fire up your grinder, and get rolling!

